Shopping Guides
Shopping Guides: Die Cutting Machine – 2
GETTING STARTED WITH DIE CUTTING MACHINES: BASICS YOU NEED TO KNOW!
Are you new to the crafting world or eager to explore the art of paper cutting and intricate designs? If so, a die-cutting machine can be your ultimate creative companion. Designed to simplify the process of cutting shapes and patterns, die cutting machines have become increasingly popular among crafters of all skill levels. In this beginner’s guide, we’ll walk you through the basics of die cutting machines, helping you start your creative journey.
What is a Die-Cutting Machine?
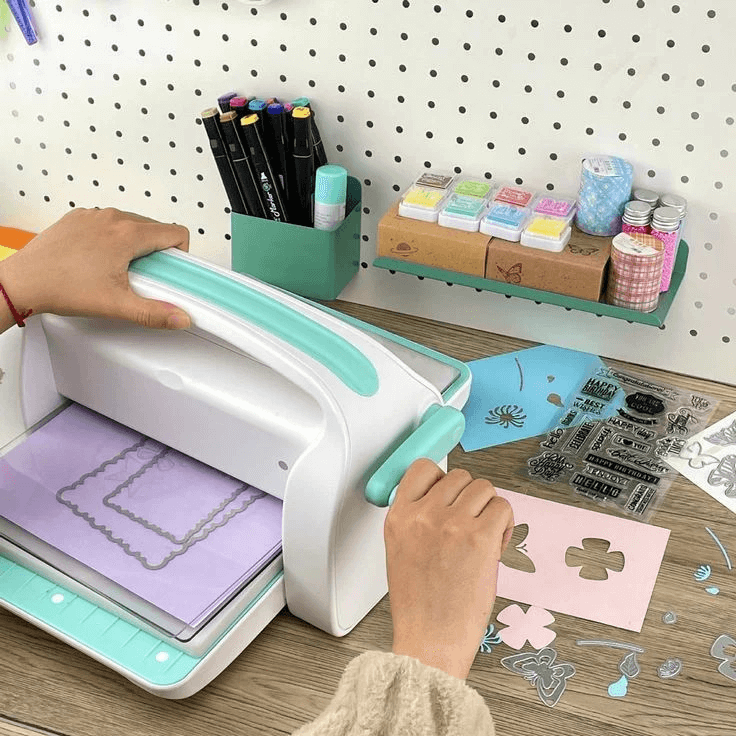
A die-cutting machine is a versatile device that lets you cut various materials into specific shapes and patterns. It consists of a base or platform, a cutting mechanism, and usually a lever or hand crank. You will also need dies or emboss folders to operate. The dies are metal blades or stamps with a particular shape, and the machine applies pressure to cut the material precisely.
Getting Started with Die-Cutting Machines
Now that you understand what is a die-cutting machine, let’s explore the steps to get started with your new die cutting machine:
Step 1: Selecting the Right Machine
Consider your needs and preferences when choosing a die cutting machine. Think about the size of projects you plan to work on, the materials you want to cut on, and your budget. Compare the specifications and features of different models to find the one that suits your requirements.

Step 2: Gathering Essential Tools and Materials
To begin die cutting, you will need the following basic supplies:
Die-Cutting Machine
Dies or emboss folders of your choice
Materials to cut (such as paper, cardstock, or fabric)
Cutting pads or platforms (often included with the machine)
Accessories like shims and machine-specific adapters or plates.
Step 3: Familiarizing Yourself with the Machine
Read the machine’s instruction manual carefully to understand its components, functions, and safety guidelines. Get familiar with its specific features, such as adjusting the pressure settings or changing the cutting platform.
Step 4: Preparing the Materials
Trim your chosen material to the appropriate size, ensuring it fits within the machine’s cutting area. As for dies, position them on the material and secure them in place, with removable tape or magnets, if necessary. Ensure the material and dies are aligned correctly to ensure precise cuts.
Step 5: Operating the Die Cutting Machine
Follow the specific instructions of your machine, such as inserting the material and dies between the cutting pads or platforms. When everything is ready, just operate the lever or hand crank to apply pressure and pass the material through the machine.

Step 6: Care and Maintenance
Regularly clean your die cutting machine by removing any debris or bits of material that may accumulate. Follow the manufacturer’s recommendations for lubricating the machine and replacing any worn-out parts.
Experiment and Explore
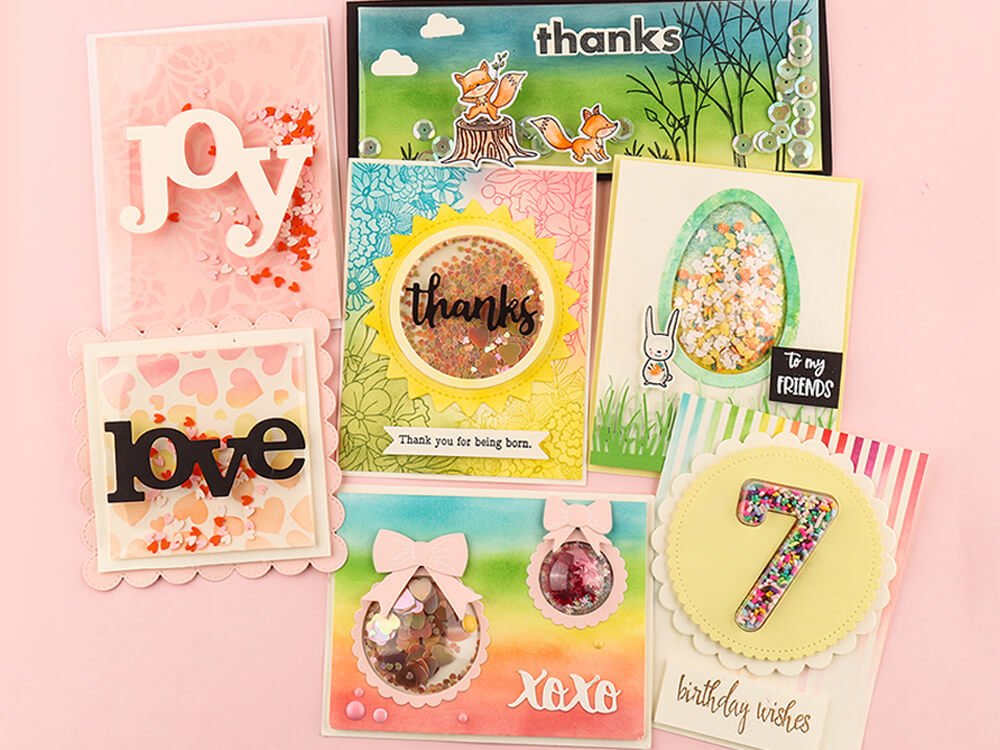
Now that you know all the basics of die cutting machines, it’s time to unleash your creativity. Try out your machine with different dies, materials, and designs. Explore various techniques like embossing, debossing, or combining multiple die cuts to create unique effects. We heartedly welcome you to follow us on social media for more tutorials, to learn new skills, and to gain inspiration from fellow crafters.
Remember, practice makes perfect, so don’t get discouraged if your initial attempts are not flawless. With accumulated time and experience, you’ll master the art of die cutting and discover new ways to express your creativity.
Happy die-cutting!
Note: Always refer to your die cutting machine’s instruction manual for specific guidelines and safety precautions.


 New Arrivals
 Best Sellers
 All Product
 Latest deals