No products in the cart.


Journal
What is an Embossing Folder?
If you’ve ever run a piece of cardstock through a die cutting machine and marveled at the raised, textured pattern that appeared on the paper — that was an embossing folder at work. Embossing folders are one of the most accessible and rewarding tools in paper crafting, and once you understand how they work, you’ll find yourself reaching for them again and again.
What Is an Embossing Folder?
An embossing folder is a translucent rigid plastic folder with a raised design etched into its surface. When you place paper inside the folder and run it through an embossing machine, the design presses into the paper, creating a beautiful raised (embossed) pattern on one side and a corresponding indent on the reverse. The result is a subtle, tactile texture that adds dimension and elegance to any papercraft project.
Embossing folders are different from metal cutting dies — they don’t cut anything. They purely create texture and visual interest through pressure. This makes them incredibly beginner-friendly, as there’s no risk of cutting mistakes or wasted materials.
Embossing vs. Debossing: What’s the Difference?
These two terms are often confused, but the difference is simple:
- Embossing: The design is raised above the surface of the paper. Light hits the raised areas, creating highlights.
- Debossing: The design is pressed into the paper, creating an indent. This creates a subtle shadow effect.
Many embossing folders create both effects simultaneously — a raised front and indented back — which is why you’ll sometimes see them called “embossing/debossing folders.” Both techniques are beautiful and often used together in mixed-media projects.
What You’ll Need to Get Started
Before you start embossing, make sure you have the following supplies:
- Embossing folders: Available in thousands of designs — from simple florals to intricate geometric patterns
- Cardstock or paper: At least 110gsm (80lb cover weight) for best results. Thinner paper may tear; heavier cardstock needs more pressure
- Embossing machine: Most standard die cutting machines (Sizzix, Cricut, Spellbinders, We R Memory Keepers) work with embossing folders. Always check your machine’s manual for plate requirements
- Cutting plates or embossing pads: Required to sandwich the folder in the machine
Step-by-Step: How to Use an Embossing Folder
Step 1: Choose Your Paper
Select cardstock that is at least 110gsm. The paper should be smooth enough to take the impression clearly but sturdy enough not to tear. Popular choices include:
- 110gsm smooth white cardstock (great for coloring with alcohol markers)
- 180gsm colored cardstock (for bold, vibrant backgrounds)
- Vellum (creates a delicate, translucent embossed effect)
- Metallic cardstock (dramatic shine combined with texture)
Step 2: Prep Your Sandwich
The term “sandwich” refers to the layered stack of materials you place inside the machine. A typical embossing sandwich from bottom to top is:
- Base plate (the sturdy plate that protects your machine)
- Embossing folder (with your paper inside, closed)
- Embossing pad (a soft cushioning plate above the folder)
- Top plate (to distribute pressure evenly)
Important: Always check your machine manufacturer’s instructions. Using the wrong sandwich configuration can damage your folder or machine.
Step 3: Run It Through the Machine
Place your sandwich in the machine with the folder’s open edge facing the rollers. Crank or roll it through with steady, even pressure. You’ll feel the folder pass through — this is the embossing happening.
Pro tip: If the result is too light, try adding a second embossing pad or using slightly less pressure on the crank.
Step 4: Open the Folder and Admire
Carefully open the folder and remove your paper. You should see a crisp, raised design. If the impression is faint, run it through again or adjust your sandwich.
Creative Techniques to Try
Once you’ve mastered the basics, here are some techniques to expand your embossing repertoire:
Tone-on-Tone Embossing
Use the same color cardstock as the folder’s design (or a slightly lighter/darker shade) for a subtle, sophisticated effect. This technique works beautifully with intricate floral folders where you want the pattern visible without overwhelming contrast.
Ink Blending on Embossed Paper
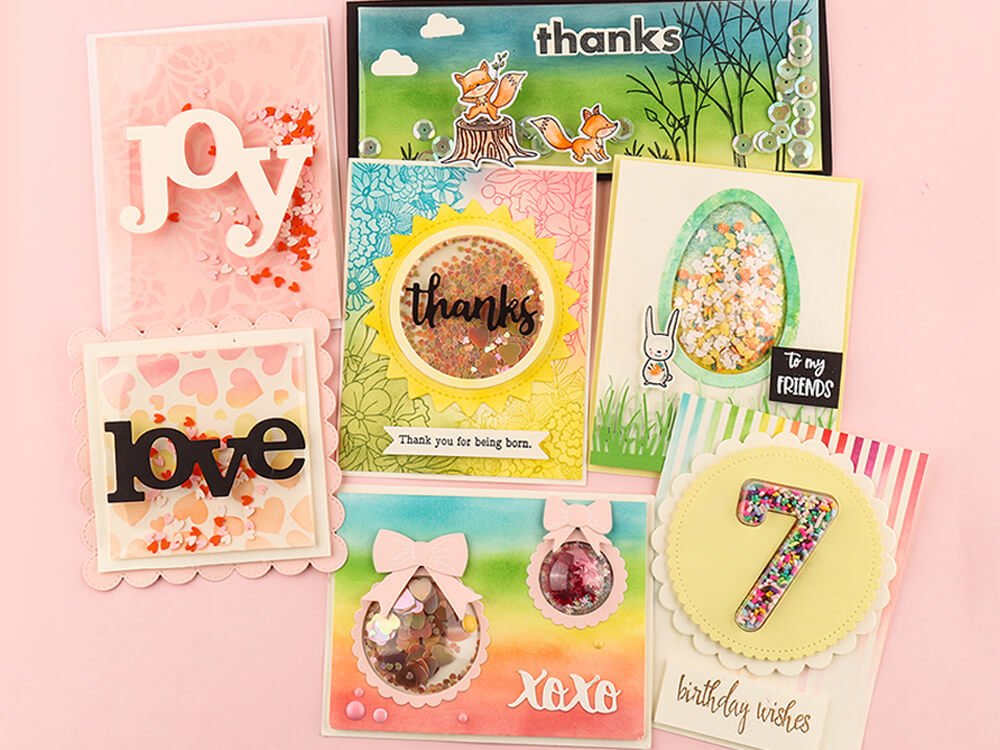
After embossing, use a foam blender to apply distress inks over the raised texture. The ink pools naturally in the recessed areas, creating stunning visual depth. This is one of the most popular cardmaking techniques for good reason.
Watercolor Over Embossing
Apply watercolors over an embossed background. The raised areas resist the water and remain lighter, while the recessed areas fill with pigment — creating a beautiful painted effect without any skill required.
Faux Letterpress
For a true letterpress look, apply ink directly to the embossing folder’s design before running it through. This transfers ink to the raised ridges, giving a vintage print-shop appearance with deep, dark impressions on light paper.
White Pigment Ink on Dark Cardstock
Use white pigment ink applied to the folder, then run dark cardstock through. The result is a crisp white embossed design on a dark background — stunning for elegant, high-contrast cards.
Choosing the Right Embossing Folder
Not sure where to start? Here are some popular embossing folder categories and what they’re best for:
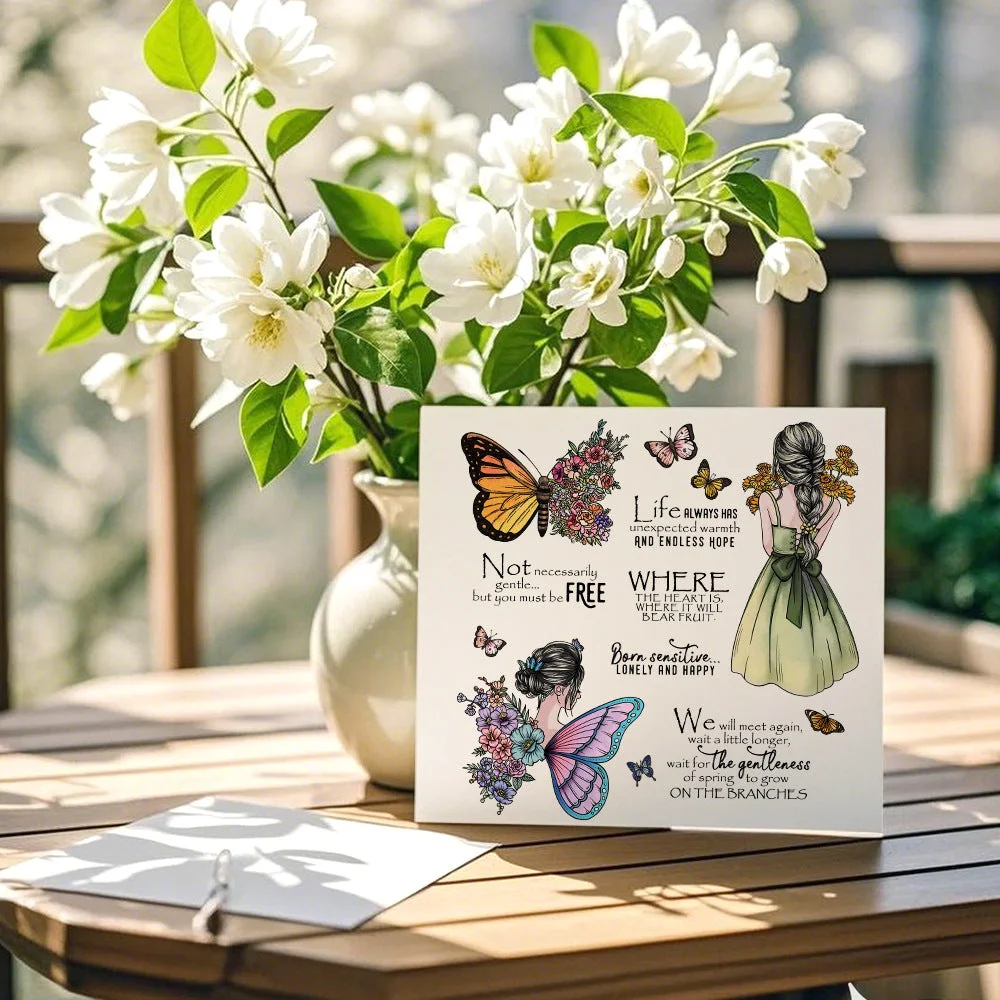
- Floral patterns: Ideal for spring and summer cards, wedding stationery, and feminine designs
- Geometric/Art Deco: Versatile patterns that work for masculine and modern card designs
- Nature/woodland: Trees, feathers, and foliage for outdoor-themed projects
- Lace/doily: Elegant, delicate designs for wedding cards and feminine projects
- Background patterns: Large-scale patterns that cover a full card front for quick, beautiful results
Troubleshooting Common Embossing Problems
The impression is too light or missing: Your sandwich may be too thin. Add an extra embossing pad or use two cutting plates for more pressure.
The paper tears: Your paper is too thin. Switch to at least 110gsm cardstock. Also check that your folder isn’t warped or damaged.
The pattern looks squished: Your sandwich is too thick. Reduce the number of plates or use thinner embossing pads.
The folder sticks to the paper: This is common with glossy or coated cardstock. A light dusting of anti-static powder or a tumble in a dryer with a fabric softener sheet can help.
Featured Embossing Folders from Sumflying Craft
Explore our full collection of embossing folders to find designs that inspire your next project. From classic lace patterns to modern geometric sets, there’s something for every style and skill level.
 New Arrivals
 Best Sellers
 All Product
 Latest deals