No products in the cart.


Journal
How to Use Dies for Impressive Cardmaking: Techniques, Tips & Project Ideas
Turn simple paper into stunning works of art — one clean cut at a time.
What Are Dies and Why Do Crafters Love Them?
If you’ve ever spent hours carefully cutting intricate shapes by hand with scissors, you already know the struggle. Dies are thin metal templates — think of them as elaborate cookie cutters for paper — that work with a die-cutting machine to slice through cardstock, vellum, and other materials with remarkable precision. The result? Clean, identical shapes every single time, in a fraction of the hand-cutting effort.
But here’s the thing most beginners don’t realize: dies aren’t just for cutting shapes. With a little creativity, they become the foundation for layered designs, embossed textures, shadow effects, and three-dimensional embellishments that make your cards look anything but amateur.

The Essential Supplies You’ll Need
Before you dive in, let’s talk gear. You don’t need a craft room full of equipment to get started — here’s a realistic starter kit:
- Die-cutting machine — Manual machines like Sizzix Big Shot or Spellbinders Grand Calibur are popular choices. They use cranking handles and sandwich plates to push dies through paper.
- Metal dies — The templates themselves. Look for high-quality steel-rule dies for intricate designs, or wafer-thin dies for precision cutting of delicate shapes.
- Cardstock — Medium-to-heavy weight (80–110 lb) works best. Avoid anything too lightweight — it’ll tear.
- Cutting plates — Most machines require acrylic or metal shim plates to create the right “sandwich” pressure.
- Low-tack tape or magnetic sheets — To hold dies in place while cutting, especially for smaller pieces.
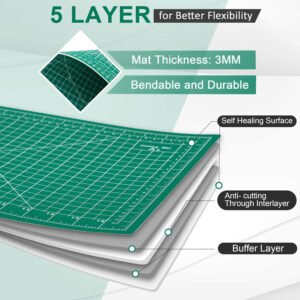
- Die-cutting mat or platform — Extends the life of your plates and helps with even pressure.

How to Use Dies: A Step-by-Step Breakdown
Step 1: Build Your Sandwich
Die cutting machines work by sandwiching your die and paper between cutting plates, then cranking it through the rollers. The exact sandwich order depends on your machine, but the universal principle is: cutting plates on top and bottom, die face-down with the cutting edge against the paper, and a metal or acrylic shim if needed for extra pressure.
Always consult your machine’s manual for the specific order — getting it wrong can damage your plates or result in incomplete cuts.
Step 2: Secure Your Die and Paper
Place your cardstock on the base plate, lay the die on top with the blade side facing down, and use low-tack tape or a magnetic platform to hold everything in place. This prevents the die from shifting mid-cut, which is the #1 cause of botched cuts.
Step 3: Run It Through
Crank the sandwich through your machine slowly and evenly. If the cut feels incomplete, run it through a second time before dismantling. Inspect the cut — if you see rough edges or partial cuts, try adding a shim or running it through again.
Step 4: Release and Pop Out
Carefully separate the layers. Use a pokey tool or awl to gently push cut pieces out from the die — this is called “die-cutting release.” For delicate cuts like lace patterns, go slow to avoid tearing the paper fibers.

Techniques That Actually Impress
Layering Dies for Dimension
Here’s a technique that separates beginner cards from advanced ones: layered die cuts. Many die sets come with coordinating dies that create multi-layered shapes — different shades of cardstock stacked together create depth and dimension without adding bulk. Think of a flower die with a base layer, a mid-tone layer, and a highlight layer. Combined, they look almost 3D.
Inlay Die Cutting
Inlay technique: cut your shape out of a contrasting cardstock color, then place that cut-out piece back into the negative space left by the die — like a puzzle piece returning home. The result is a clean, sharp two-tone look with zero bulk. It’s one of the most impressive techniques for greeting cards and works beautifully with botanical and geometric dies.
Debossing vs. Die Cutting
Most dies are designed for cutting, but running paper through with the die facing up — or using an embossing pad — creates a debossed or embossed impression instead. This is a fantastic way to add subtle texture without losing any paper. Try this with vellum for a frosted-glass look, or with kraft paper for a rustic feel.

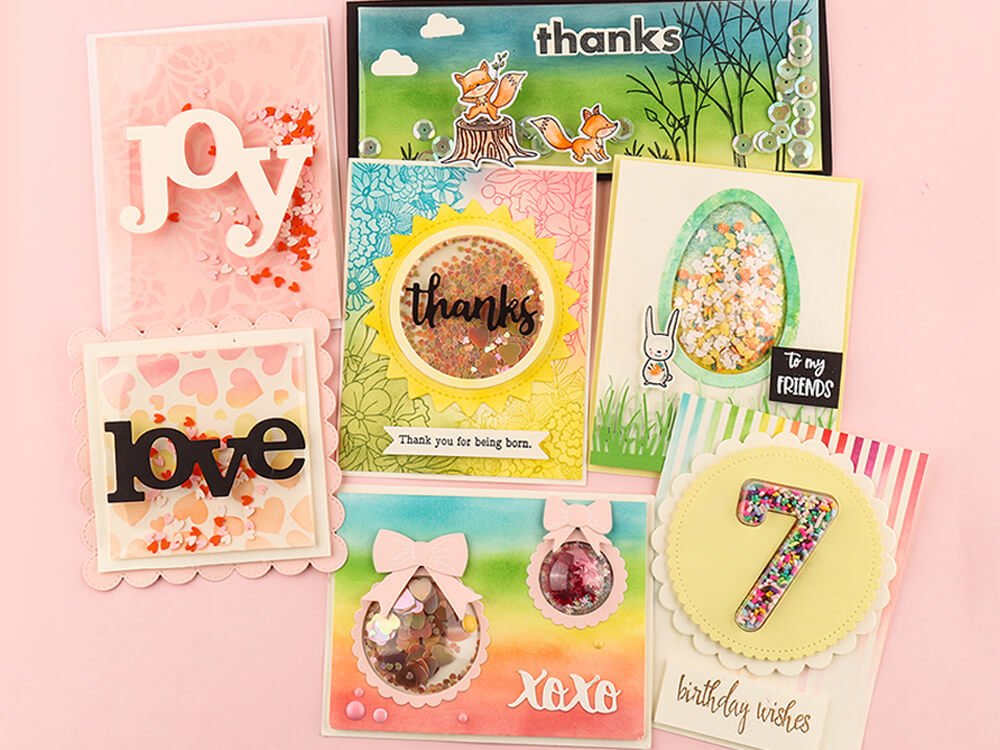
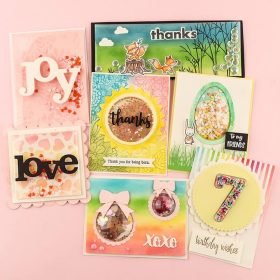
Shaker Cards with Die-Cut Windows
Cutting a window shape with a die, then layering acetate and small embellishments behind it, creates a shaker card — a card that actually shakes. Pair this with a decorative outer die-cut frame and you’ve got a showstopper that’s genuinely fun to receive.
Faux Wax Seal with Mini Dies
Small intricate dies — like monograms, crests, or tiny botanical motifs — are perfect for creating faux wax seal embellishments. Cut the shape in a complementary cardstock, curl the edges slightly for a dimensional look, and add it to your card front with foam tape. Elegant, simple, and extremely effective.
The Best Dies for Card Making (Our Picks)
Not all dies are created equal. Based on versatility, cut quality, and popularity with our community, here are the die categories every card maker should have in their collection:
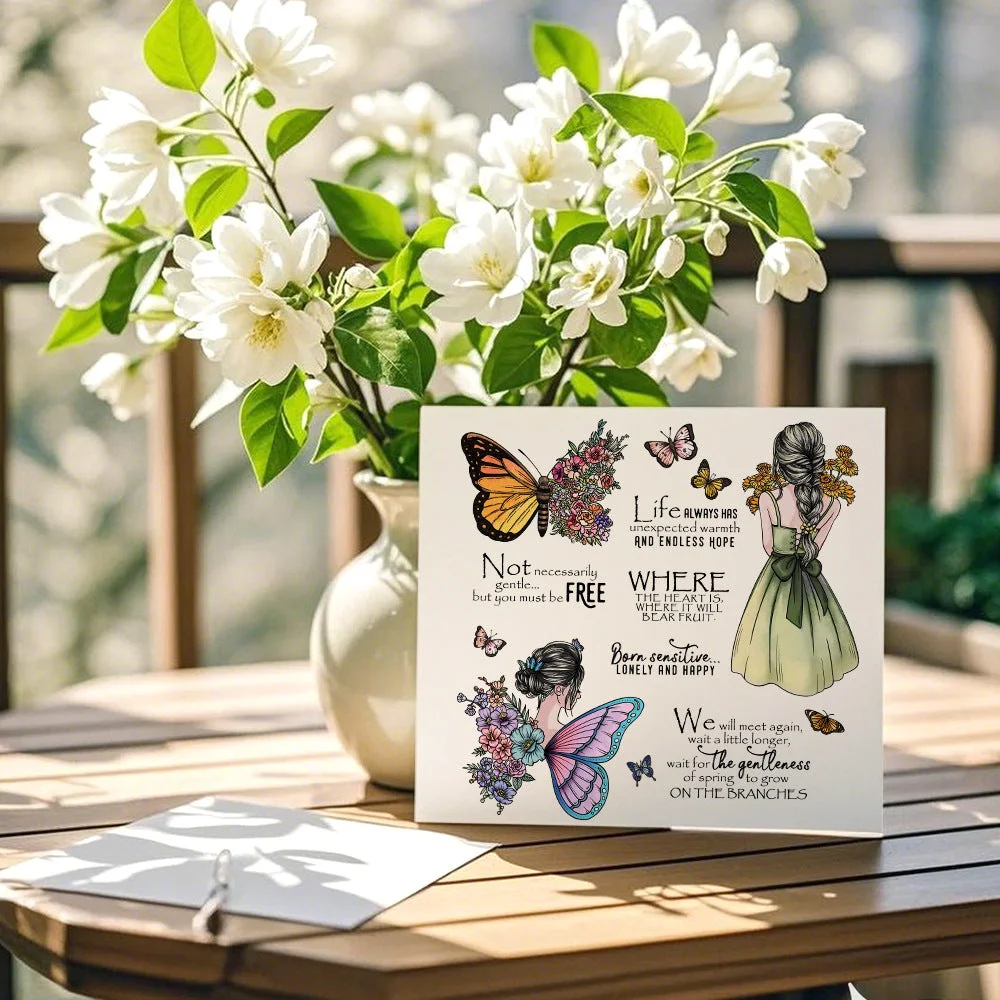
- Botanical and Floral Dies — Leaves, flowers, wreaths. These are the most versatile for year-round cards — mix seasonal sentiments with timeless botanical shapes.
- Frame and Border Dies — Die-cut borders and frames instantly turn a flat card front into a framed scene or decorative border. Perfect for layering over photos or patterned paper.
- Sentiment and Word Dies — Skip the stamps — word dies in elegant scripts give you crisp, consistent lettering with zero ink smudges.
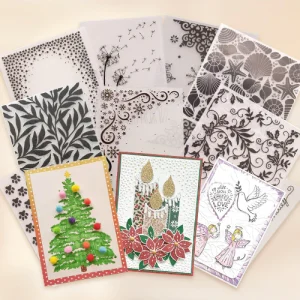
- Holiday and Seasonal Dies — Christmas trees, Easter eggs, pumpkins, hearts. These are your go-to for themed cards and typically sell out fast.
- Layered Scene Dies — Multi-layer scene dies create entire mini-landscapes in card-sized format. Surprisingly easy and incredibly impactful.

Troubleshooting Common Die Cutting Problems
My die isn’t cutting all the way through
Try running the sandwich through again. If that doesn’t work, add a shim (a thin metal or cardstock layer) to increase pressure. Make sure you’re using the correct sandwich order for your specific machine.
Cardstock is tearing instead of cutting cleanly
This usually means too much pressure. Reduce the shim thickness or switch to a thinner cardstock. Also check that your cutting plates aren’t worn — damaged plates cause uneven pressure.
The cut shape is stuck in the die
Use a pokey tool or ball stylus to gently push from the back of the die. For intricate dies, a craft pick tool works better than fingernails, which can bend delicate blades.
My die keeps shifting during cutting
Switch to a magnetic platform or use more low-tack tape. This is especially common with smaller dies that don’t have much surface area for tape contact.
Project Idea: A Thank You Card in Under 20 Minutes
Here’s a quick project to get you comfortable with the process. You don’t need many supplies — just a floral die, two shades of cardstock, a blank card base, and foam tape:
- Cut two flower shapes from your primary cardstock color, then one offset layer in a lighter or contrasting shade.
- Offset stack the layers and attach with liquid glue or foam tape for dimension.
- Cut a simple leaf sprig from green cardstock — no need for perfection here.
- Arrange your flower and leaves on the card front. Play with the composition before gluing.
- Add a sentiment strip — either a word die or a typed/handwritten message.
That’s it. Twenty minutes, one beautiful card.
Final Thoughts
Die cutting is one of those craft skills that rewards you immediately and keeps getting better the more you practice. Once you understand how your machine works and how different papers behave, the creative possibilities expand rapidly. Start simple, experiment boldly, and don’t be afraid to use your dies in ways their designers didn’t necessarily intend.
The best cards aren’t always the most complicated — sometimes it’s a single perfectly cut shape, well-layered and thoughtfully placed, that stops you in your tracks.
Explore Our Die Collection
From delicate lace flowers to bold holiday scenes — find the dies that match your creative vision.


 New Arrivals
 Best Sellers
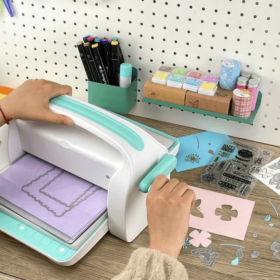 All Product
 Latest deals