No products in the cart.


Journal
Handmade with Love: How to Create a Stunning 3D Pop-up Mother’s Day Card
Mother’s Day is the perfect occasion to show the special women in our lives just how much they mean to us. While a store-bought card is convenient, nothing compares to the thoughtfulness of a handmade card — especially one with a delightful 3D pop-up mechanism that mom will want to display all year long.
In this complete tutorial, we’ll walk you through every step of creating a stunning 3D pop-up Mother’s Day card using Sumflying Craft’s precision metal cutting dies. No advanced crafting skills required — just patience, creativity, and a few essential tools.
What Makes a 3D Pop-up Card Special?
3D pop-up cards are different from standard folded cards because they contain an internal mechanism that springs open when the card is opened, revealing a dimensional surprise. The result is genuinely impressive — and surprisingly easy to create once you understand the basic principle.
The best part? You can adapt the technique to any occasion: birthdays, weddings, anniversaries, holidays, and more. Once you’ve mastered the basics, your creativity is the only limit.
Materials You’ll Need
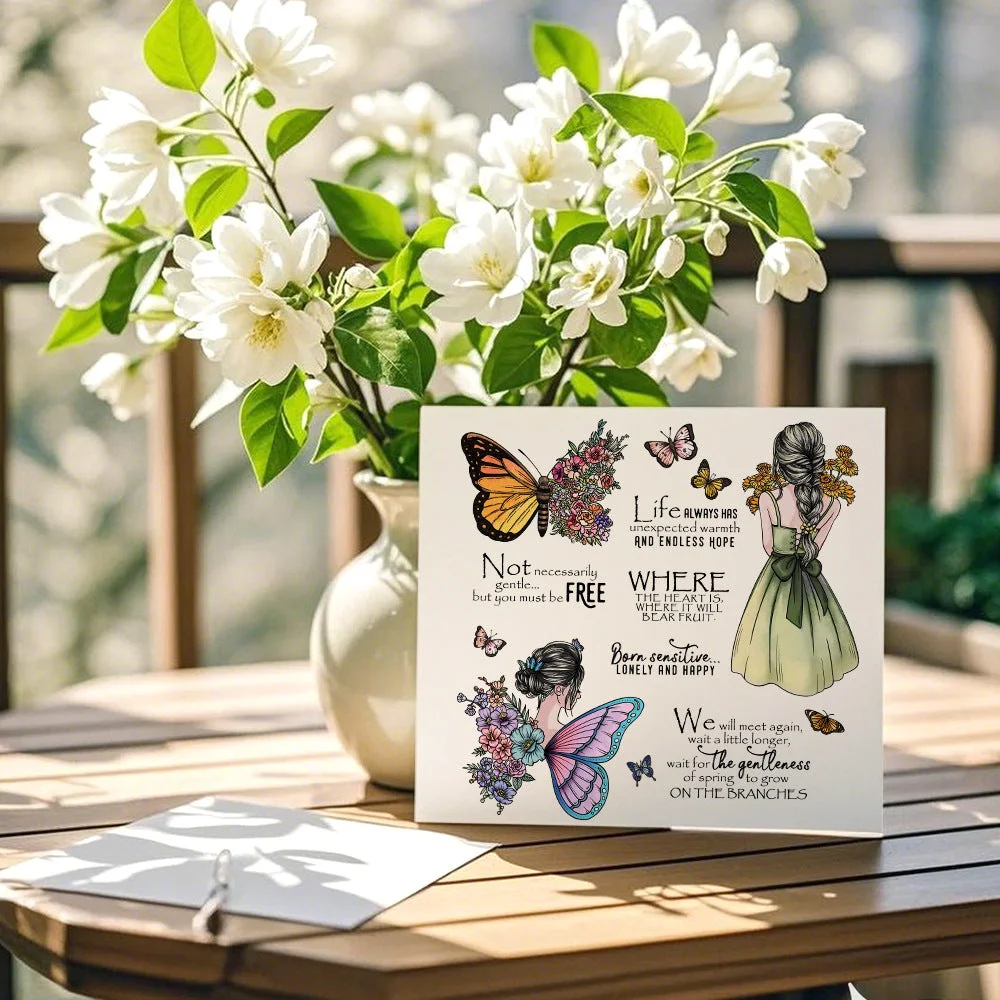
- Sumflying Lovely Flower Rose Metal Cutting Dies
- Sumflying “Happy Mother’s Day” Word Dies
- Premium heavyweight cardstock (at least 200gsm / 110lb cover)
- Colored cardstock for the pop-up mechanism and accents
- Sumflying Quick-Dry Ink Pads (for stamping sentiment or background details)
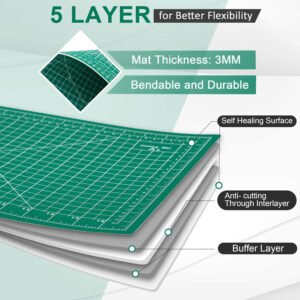
- A die cutting machine (compatible with standard metal dies)
- Fine-tip scissors or craft knife
- Multi-purpose craft glue (not a wet glue — use a fine-tip liquid glue or glue tape)
- Ruler and scoring tool (optional but highly recommended)
Step 1: Cut Your Base Card
Start by cutting a piece of heavyweight cardstock to your desired card size. A standard A5 (5.5″ × 8.5″ folded to 5.5″ × 4.25″) or a 6″ × 6″ square works well for pop-up cards. Score and fold in half to create your card base.
Tip: Use a bone folder or the back of a spoon along your fold line for a crisp, professional crease.
Step 2: Create the Pop-up Mechanism
The simplest and most reliable pop-up mechanism is the “X-cut” method. Here’s how:
- With your card closed, cut two slits that cross each other in the center of the card (an X shape). Each slit should be about one-third of the card’s height.
- Fold the four resulting triangular flaps inward. When you open the card, the flaps will fold back and stand up, creating a platform for your decorations.
- Secure the base of each flap with a small amount of glue to keep the mechanism stable.
Alternatively, you can use a dedicated pop-up card die set, which creates more complex and impressive mechanisms automatically. Sumflying Craft offers several pop-up compatible designs that work beautifully with this method.
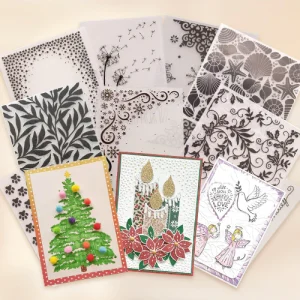
Step 3: Die-Cut Your Floral Magic
Now for the fun part — cutting your decorative elements. Using the Sumflying Lovely Flower Rose Metal Cutting Dies:
- Sandwich your colored cardstock between your cutting plates along with the flower dies.
- Run through your die cutting machine. The dies will cleanly cut through even 200gsm cardstock.
- Carefully pop out the cut pieces. You’ll have beautifully detailed flower petals, leaves, and centers.
Repeat with the “Happy Mother’s Day” Word Dies to create your sentiment. Consider cutting the words from a contrasting color cardstock for visual impact.
Step 4: Assemble the Pop-up Interior
With your card open, arrange your die-cut flowers and leaves on the pop-up platforms. Before gluing, test how everything looks when the card opens and closes. Make any adjustments needed.
Assembly tip: Only glue the die cuts to the pop-up flaps — never glue the flaps themselves to the card base, or the pop-up mechanism won’t work!
Use a fine-tip applicator to add small dots of glue to the back of each die-cut piece, then press gently onto the pop-up flaps. Layer different sized flowers for a natural, three-dimensional look.
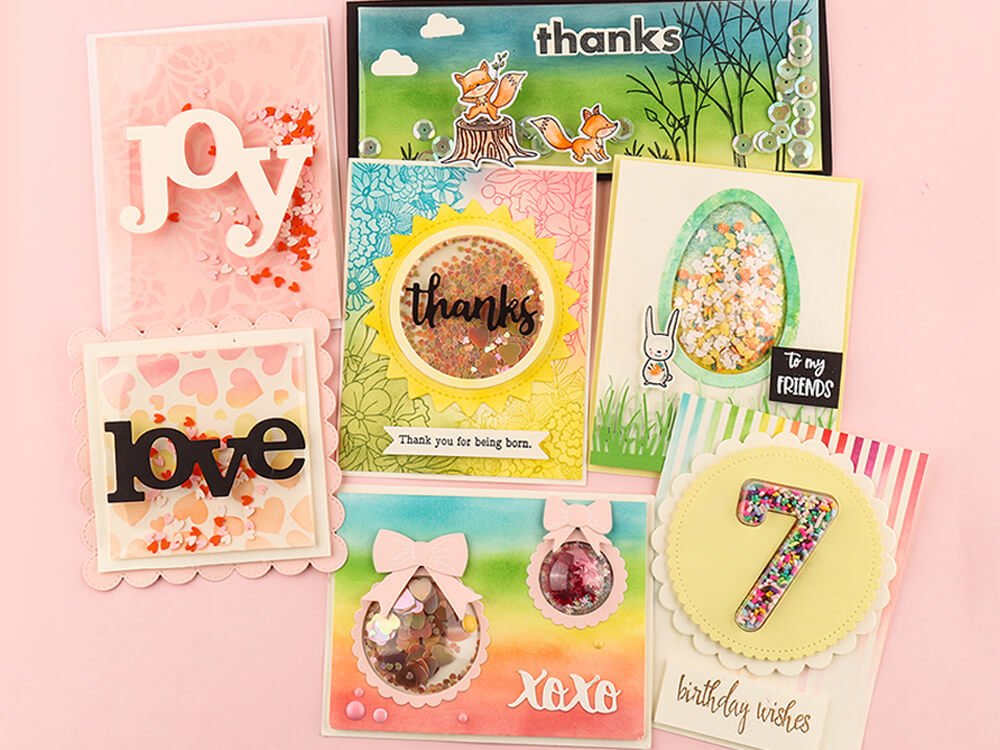
Step 5: Decorate the Card Front
Close the card and decorate the front cover. A few ideas:
- Add a smaller die-cut flower cluster in the corner as a teaser of what’s inside
- Stamp a subtle background pattern using Sumflying Quick-Dry Ink Pads
- Add a piece of ribbon or twine tied around the front for a gift-like presentation
- Cut a panel from complementary colored cardstock to frame the front
Step 6: Add Your Personal Message
Don’t forget the inside of the card! Add a handwritten message or stamp a short sentiment on the card’s interior. Leave space for your personal note — the pop-up mechanism itself becomes part of the message, showing mom how much effort you put in.
Tips for a Professional Finish
- Test your mechanism before gluing anything — open and close the card 5-10 times to make sure it springs smoothly
- Use heavyweight cardstock for the mechanism — lightweight paper will warp and lose its spring over time
- Work on a clean, flat surface and give glue time to dry before handling
- Layer your flowers with slightly different shades for natural depth
- Add dimension by curling petals slightly upward with a ball stylus or your fingertip
Why Handmade Matters
In a world of instant digital messages and mass-produced cards, a handmade card speaks volumes. It says you took time — real, physical, creative time — to make something unique for that person. A 3D pop-up card takes that sentiment even further: it’s a piece of art your mom can unfold and enjoy every time she opens it.
With Sumflying Craft’s precision metal cutting dies and a little creativity, anyone can create something truly special. Browse our full collection of flower dies and word dies to find the perfect elements for your next handmade card.
 New Arrivals
 Best Sellers
 All Product
 Latest deals