
No products in the cart.


Paper Crafting Tips, Crafting Guides
Scrapbook Paper, Cardstock and Craft Paper: What We Learned Testing 30 Papers
Paper is the one supply we reach for before anything else, and it is also the one that quietly ruins more projects than a dull blade or a dried out ink pad ever will. A card base that folds with a cracked spine, a blended background that soaks up half a bottle of ink, a sheet that shreds and leaves fuzz stuck to a cutting mat: all of those come back to the same thing. The paper was wrong for the job.
Over the past year we ran a lot of paper through our own packing table and cutting machines. We weighed sheets, folded them, blended ink on them, ran them through dies, and stored them badly on purpose to see what happened. This guide collects what actually mattered, written as the advice we give customers who ask us the same questions every week.
Scrapbook Paper, Cardstock and Craft Paper Are Not the Same Thing
The names get used interchangeably in craft shops, which is where most of the confusion starts. Here is how we separate them.
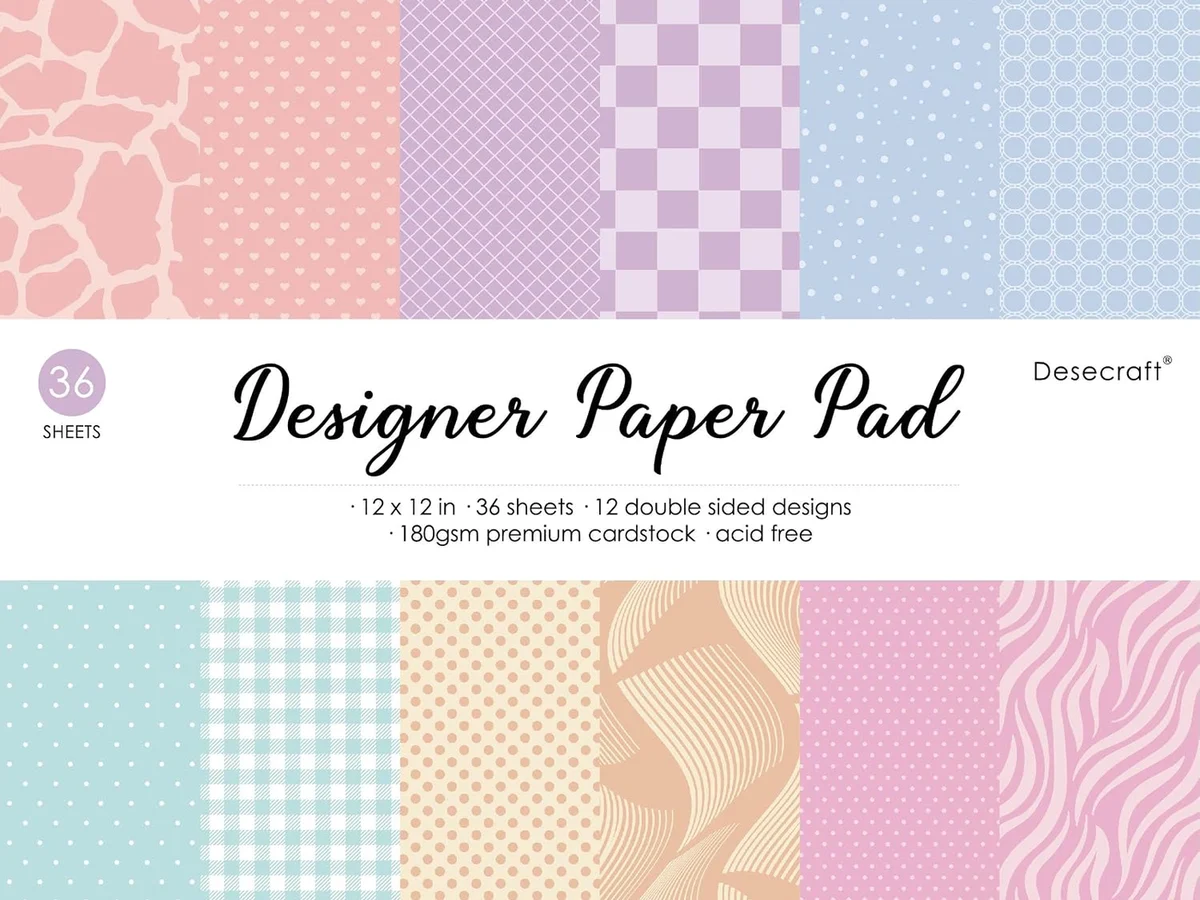
- Scrapbook paper is patterned paper, usually sold in 6×6″/12×12″ pads or collections. It is thin to medium weight, printed on one or both sides, and designed to be cut, layered and glued down as decoration.
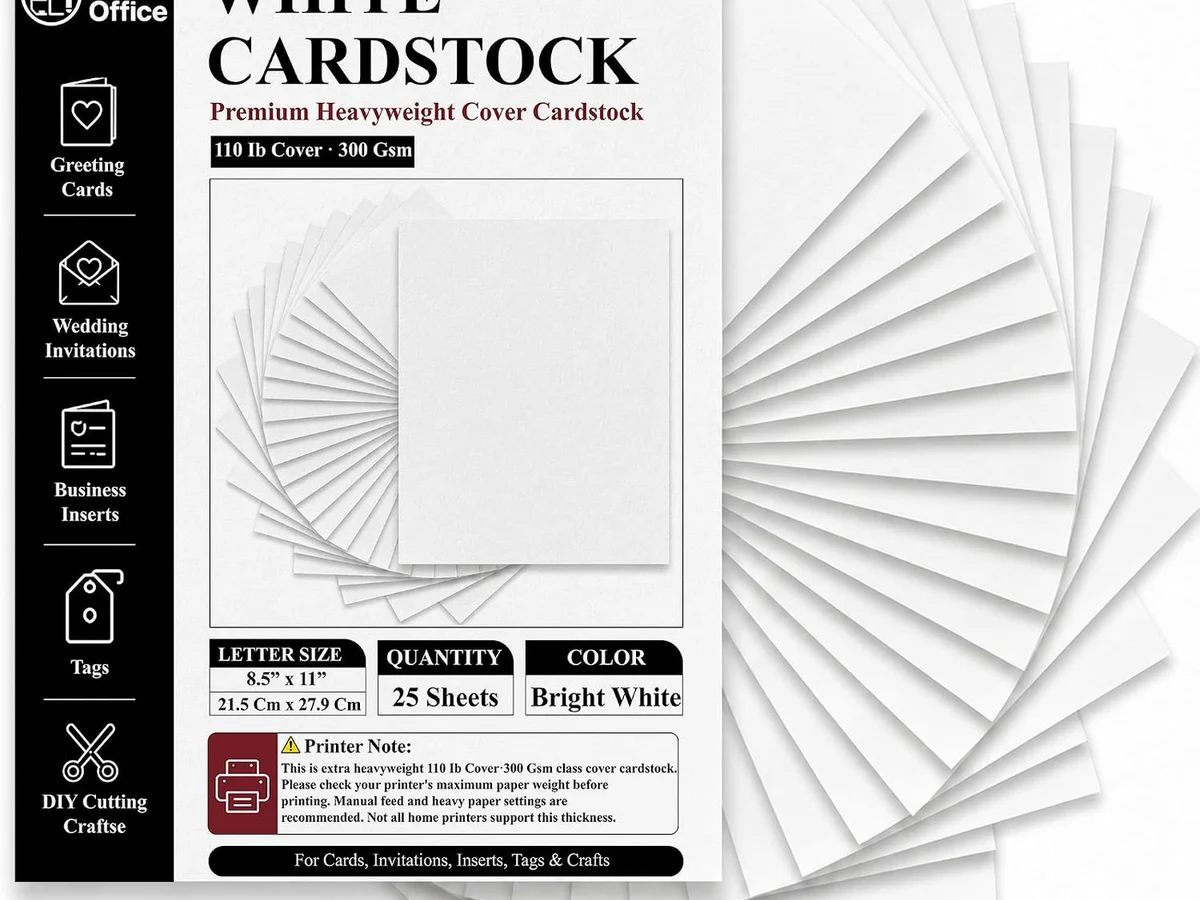
- Cardstock is a thick, solid coloured sheet meant to hold structure. It becomes card bases, mat layers, die cut shapes and anything that needs to stand up on its own.
- Craft paper is the broad catch all: construction paper, kraft, coloured text weight paper, and the inexpensive packs used for kids projects, tags and backgrounds.

Once you know which of the three you need, the next number is the one that decides whether the project works.
Weight: The Number That Actually Decides Everything
Weight is where most buyers get caught out, and it is not their fault. Two sheets can both say 110 lb and feel completely different, because lb and gsm measure different things depending on which parent sheet size the manufacturer used.
The distinction that matters is index weight versus cover weight. Index weight is measured against a smaller parent sheet, so a 110 lb index stock comes out around 199 gsm and feels almost like heavy copy paper. Cover weight is measured against a larger parent sheet, so 110 lb cover lands near 300 gsm and folds into a proper card base.
We learned this the hard way holding two reams side by side that both claimed 110 lb on the label. One folded into a crisp base, the other creased like a leaflet.
| Weight | Approximate gsm | What we use it for |
|---|---|---|
| 65 lb cover (about 175 gsm) | Light | Layering panels, matting, envelopes. Too thin for a base or heavy die cutting. |
| 80 lb cover (about 216 gsm) | Medium | Card bases that stay flat in the post, simple die cuts. |
| 100 lb cover (about 270 gsm) | Sturdy | Our default for card bases and ink blended panels. |
| 110 lb cover (about 300 gsm) | Heavy | Bases that need to carry foam, wobblers or heavy embellishment. |
| 110 lb index (about 199 gsm) | Deceptively light | Reads as heavy on the label but folds soft. Great for ink, weak as a base. |
A practical rule we now follow: if the packaging does not say cover weight, check the gsm. Anything under 200 gsm will not hold a scored fold the way you expect.
Match the Paper to the Job
One sheet rarely does everything well. We keep two or three different whites on the bench at all times, because the paper that folds into a beautiful base is often the worst surface for blending ink.
| Job | What works | Why |
|---|---|---|
| Card base | 100 to 110 lb cover, smooth or lightly textured | Holds a scored fold without cracking and supports layers. |
| Ink blended panel | A smoother, slightly lighter stock, blended separately then mounted | Open surface drinks less ink, so colour builds faster with less scrubbing. |
| Alcohol marker colouring | Ultra smooth marker paper or a smooth cardstock | Blends without streaking and does not pill under repeated passes. |
| Die cutting | 100 lb cover and up, tight fibre | Cuts clean, releases from the die, and does not shed fibres. |
| Scrapbook pages | 12×12 patterned pads plus a matching solid cardstock | Patterns carry the theme, solids give the eye somewhere to rest. |
| Embossing | Heavier cover stock, lightly misted | A fine mist of water softens the fibre so it stretches instead of cracking. |
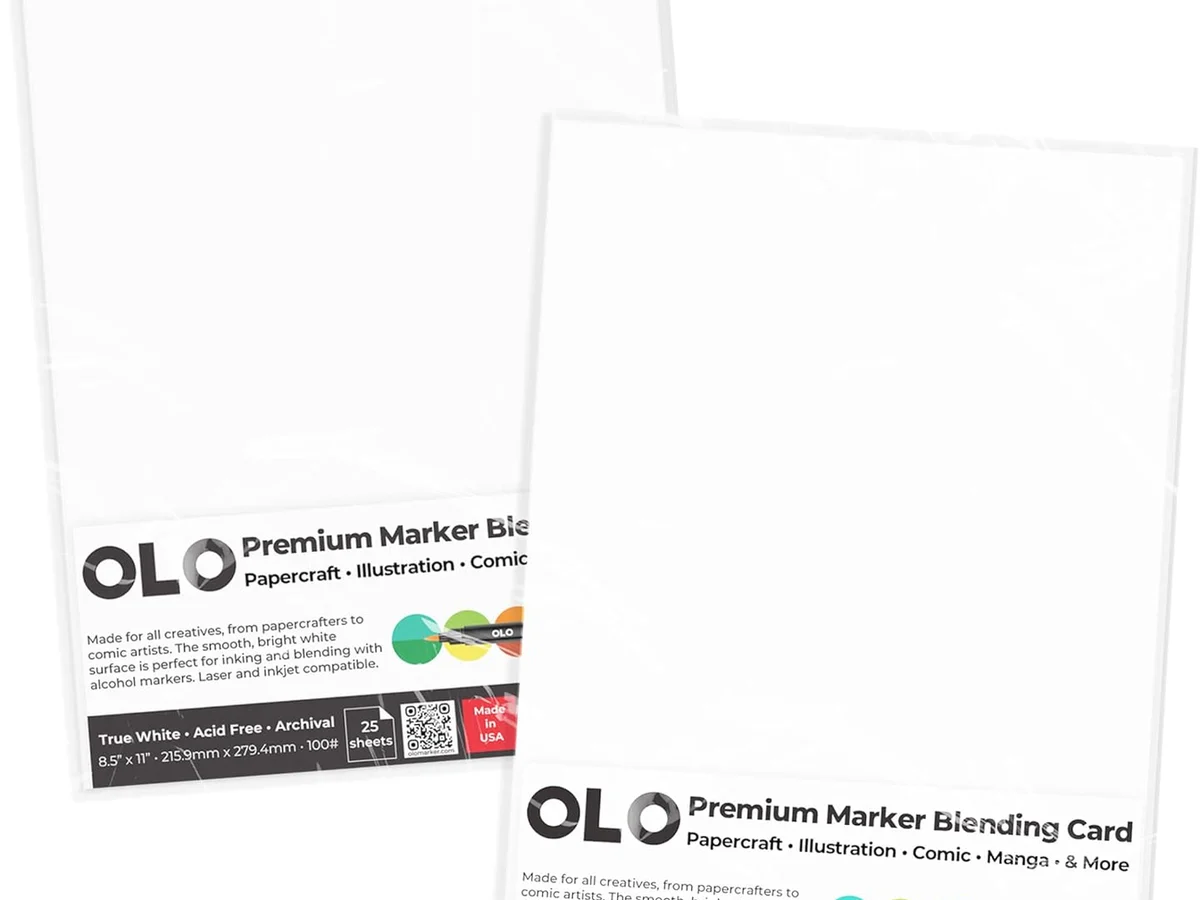
Pairing a heavy base with a lighter blended panel costs one extra step, gluing the panel down, and it removes the single most common frustration we hear about: colour that refuses to show up.
Problems We Hit, and What Fixed Them
These are the failures that pushed us to change how we buy paper.
| What happened | Why | Fix that worked for us |
|---|---|---|
| Paper shredded and left fuzz all over the cutting mat | Loose, pulpy fibre or old stock whose fibre has started to break down | Use a light grip mat for paper, keep one older mat as a standby for problem sheets, and flip the mat over to peel it away from the paper instead of lifting the paper off. |
| Mat lost its tack after cleaning | Scrubbing removed the adhesive layer | Wash with water and a soft brush, let it dry, then re-tack with a light, even coat of basting adhesive. |
| Cuts tore instead of slicing | Humidity. Paper drinks moisture from the air and goes floppy | Press the sheet with a heat press or iron for a few seconds, let it cool, then cut. |
| Ink would not build, needed endless scrubbing | Heavy, tightly coated stock repelling dye ink | Blend on a separate lighter panel and mount it when dry. |
| Embossing cracked along the fold lines | Fibre too dry to stretch | Mist the sheet lightly with water before it goes through the machine. |
| Adhesive failed months later | Cheap tape runner on a long term project | Spend the extra on a quality tape runner or photo safe adhesive for anything meant to last. |
How to Make a Page Look Cohesive Instead of Busy
This is the question we get more than any other, and the answer has very little to do with buying more supplies.
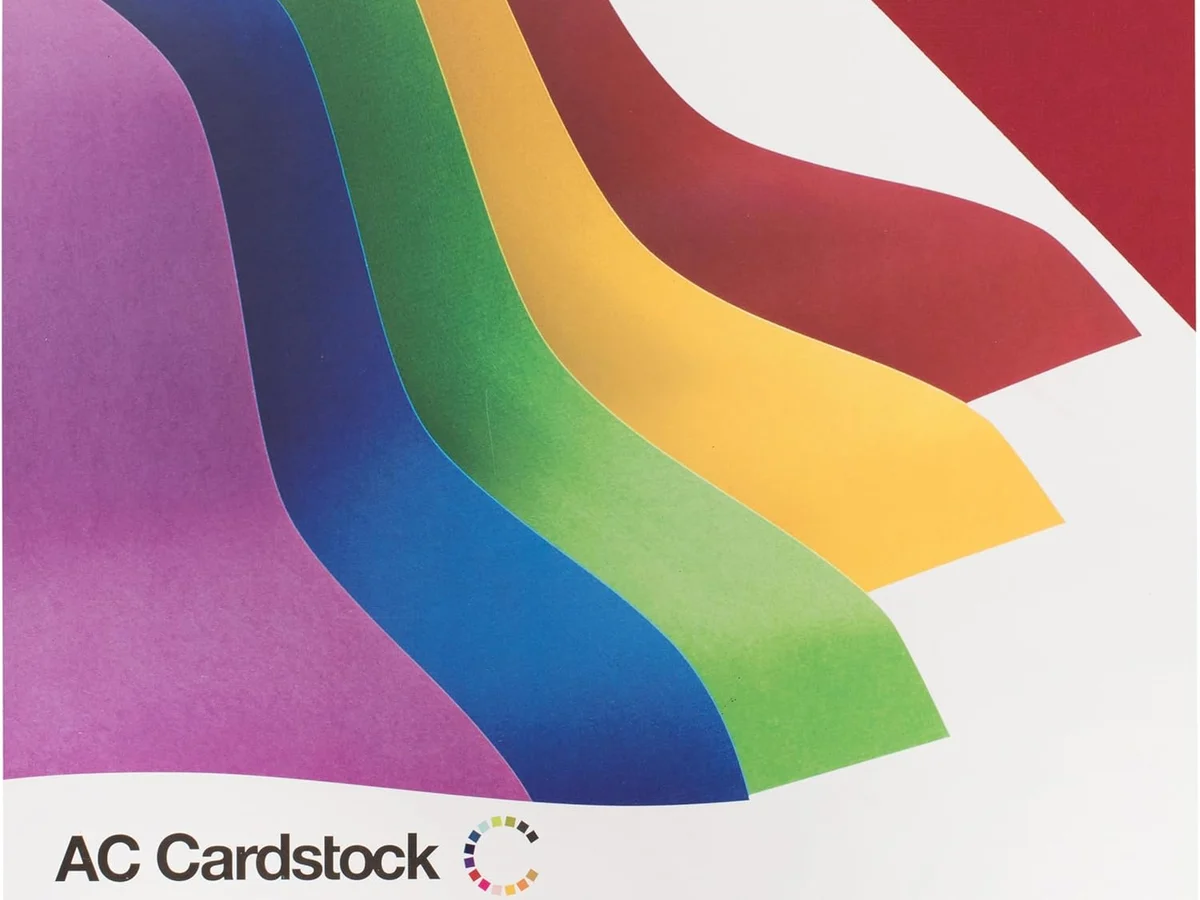
- Pull your colours from the photo. Choose two main colours and one accent, taken from something already in the picture. The page then cannot clash with itself.
- Start with a coordinating pad. Collections are designed so patterns, solids and ephemera share a palette. Working mostly from one pad makes matching almost automatic.
- Treat a two page spread as one canvas. Carry the same border or strip of paper across the gutter so the pair reads as a single design.
- Set a palette for the whole album. Three colours repeated across an album does more for cohesion than any single layout trick.
- Layer before you glue. Arrange everything, step back, then commit. Most messy pages came from sticking pieces down one at a time.
- Sort your scraps by colour. When offcuts live in colour groups, you reach for the right piece in seconds instead of digging.
Acid Free and Archival: When It Genuinely Matters
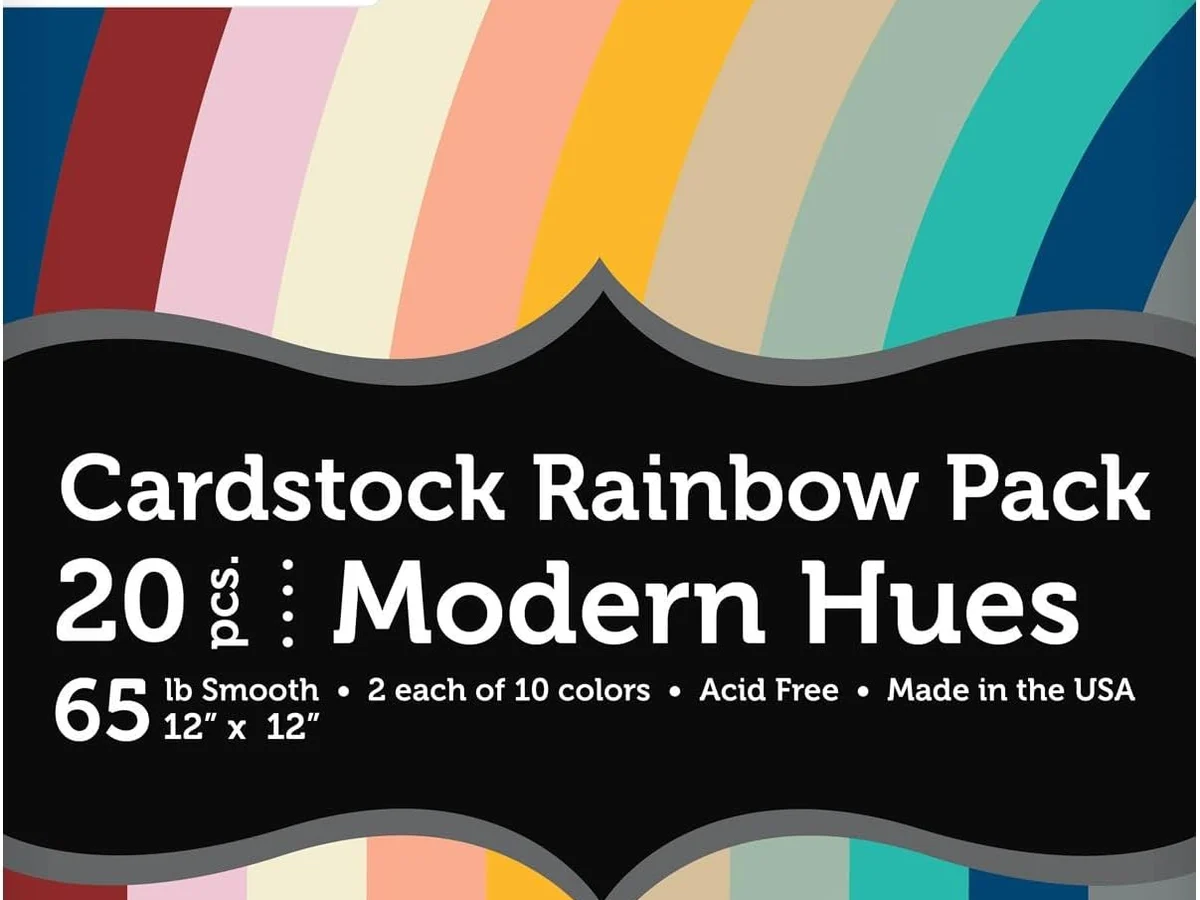
Acid free and lignin free paper resists yellowing and brittleness because the acids that break down cellulose are not there to begin with. Whether that matters depends entirely on what you are making.
If the album is meant to be opened by a grandchild, acid free paper, photo safe adhesives, quality page protectors and an archival pen are worth every cent. Cheap ink fades, and sticky magnetic albums will damage photos over time. If the project is a creative outlet, a junk journal, or something you expect to redo in a few years, ordinary paper is fine. We have albums in both camps and neither choice was wrong.
One small check we do when buying decorative paper: look closely at the artwork. If shapes melt into each other, or the same odd element repeats across a sheet, the design was likely generated rather than drawn. Hand drawn patterns hold up better at close range, which is where scrapbook pages get read.
Storing Paper So It Stays Flat
Paper is hygroscopic, which is a plain way of saying it takes on water from the air. Left loose in a damp room it curls, and curled paper feeds badly and cuts badly.
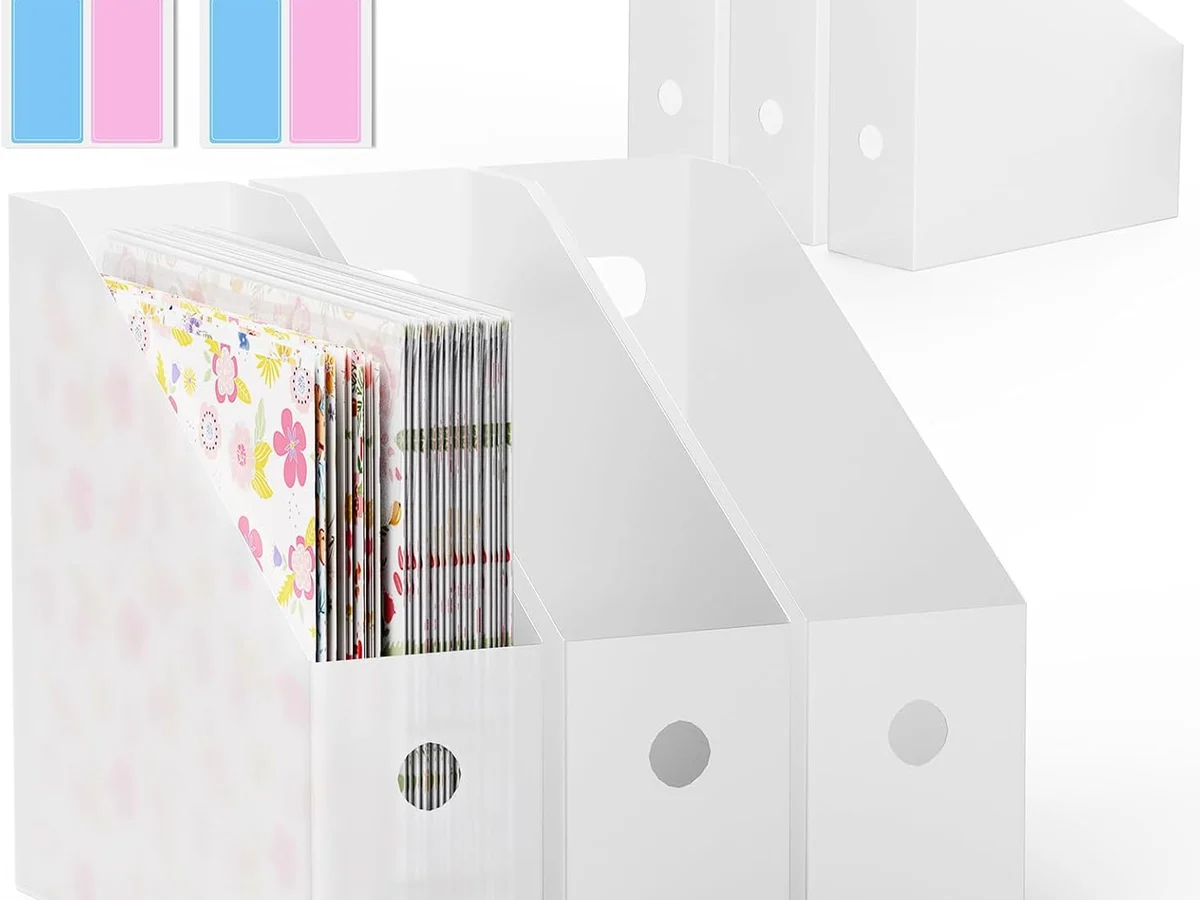
- Store 12×12 sheets flat in a closed container or vertical in a dedicated paper holder, not leaning against a wall.
- Keep cardstock in its wrapper or a sealed sleeve until you use it.
- Add a silica pack if you work in a humid room, and keep paper away from exterior walls and windows.
- Sort by colour, not by collection, if you build pages by palette rather than by theme.
Choosing Paper for Kids and Classroom Projects
For craft paper that will be cut, glued and folded by small hands, weight works the other way. Heavy cardstock fights blunt scissors and frustration sets in fast. A mid weight construction paper pack in a wide colour range gets far more use, and buying in bulk makes sense because these projects consume sheets quickly.
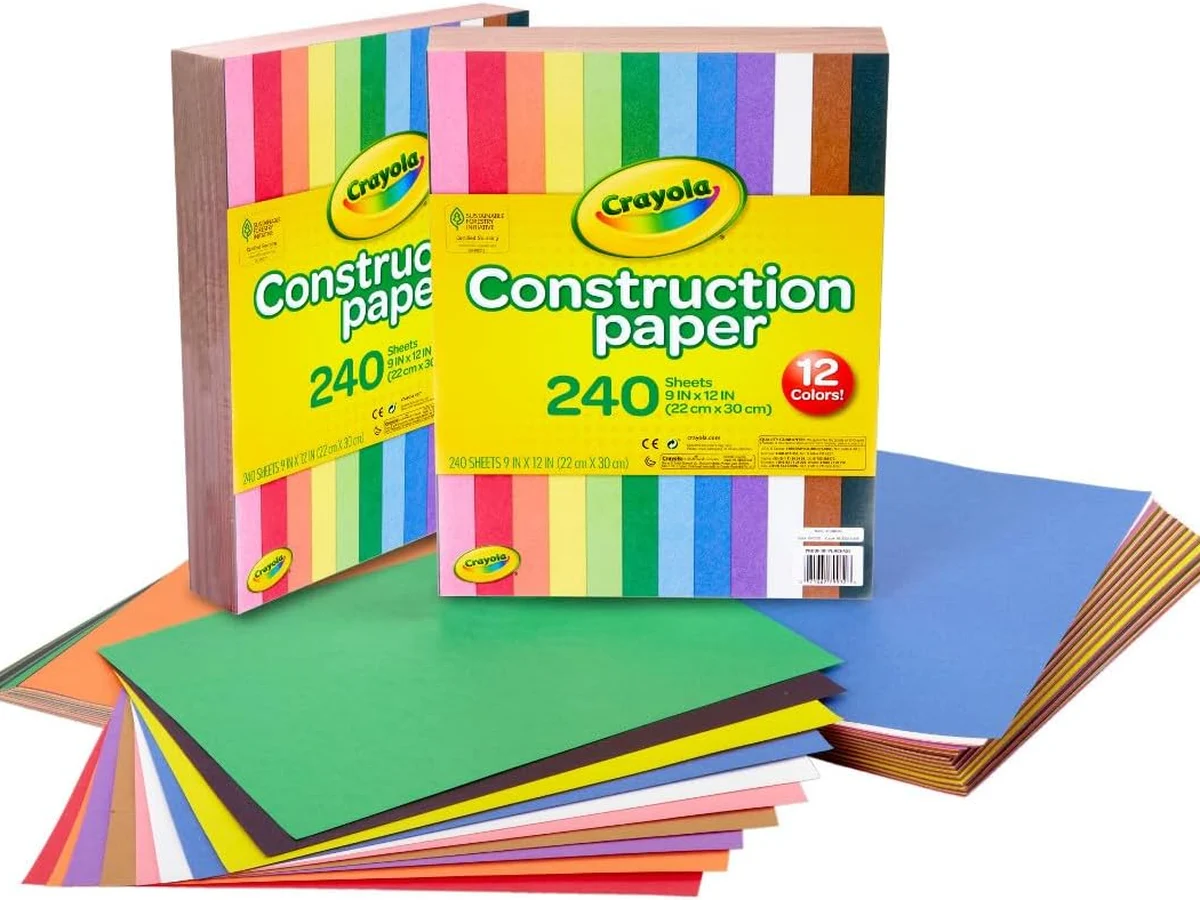
Keep one heavier cardstock on hand for anything that needs to stand up, such as a puppet, a mask or a freestanding sign, and let the light paper do the rest.
Frequently Asked Questions
What weight cardstock should I buy for card bases?
100 to 110 lb cover weight, roughly 270 to 300 gsm. Check that the packaging says cover weight, because 110 lb index is much lighter than it sounds.
Why does my ink blending look patchy?
Usually the surface, not the ink. Heavy coated cardstock resists dye ink. Blend on a lighter, smoother panel and mount it on the base once it is dry.
Can I use the same paper for my card base and my die cut shapes?
You can, and for simple shapes it works fine. For intricate dies, step up to a tighter fibred 100 lb cover so the piece releases cleanly.
How do I stop paper tearing on my cutting mat?
Switch to the light grip mat for paper, keep an older mat for problem sheets, and peel the mat away from the paper rather than lifting the paper. If the room is humid, press the sheet briefly with heat first.
Is acid free paper worth the extra cost?
For a keepsake album, yes. For practice pieces, journals and kids projects, no. Match the paper to how long the project needs to last.
Should I mist cardstock before embossing?
A light mist helps the fibre stretch so you get a deeper impression without cracking. One or two sprays from a distance, not a soaking.
Building a Paper Stash That Actually Gets Used
If we had to start over with a single order, it would be one coordinating 12×12 pad, one ream of heavy white cover cardstock for bases, one smoother lighter stock for blending, and a vertical holder to keep it all flat. That small stack covers almost every project that comes across our table.
Everything else, the specialty finishes, the pearlescents, the heavy textured sheets, is worth adding once you know which of those four you run out of first.
Ready to stock up? Browse our full range in Paper and More, where you will find scrapbook paper pads, cardstock and craft paper sized for every project above. If you are shaping those sheets, pair them with our die cutting dies and embossing folders to get the most out of every sheet.
 New Arrivals
 Best Sellers
 All Product
 Latest deals